LinkMap Interaction Guide
The LinkMap interface provides powerful tools for interacting with your site's visualization. This guide will help you master the key interaction features to effectively explore and analyze your site structure.
Basic Navigation Controls

Navigate your LinkMap using intuitive mouse controls:
- Pan: Click and drag anywhere in the empty space to move around the visualization
- Zoom: Use your mouse wheel to zoom in and out
- Select: Click on any page node to view its details
The HUD Interface

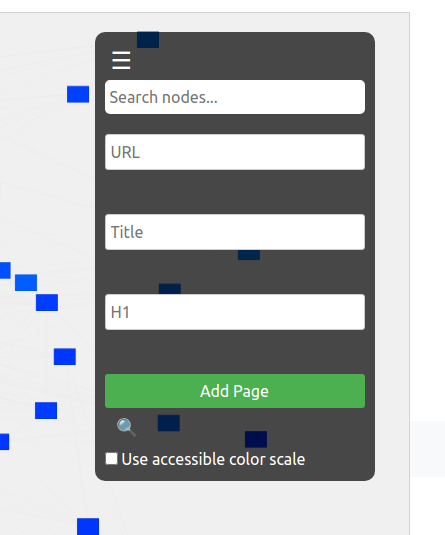
Your LinkMap includes a Heads-Up Display (HUD) interface in the top right corner. Click the menu icon (☰) to expand or collapse the HUD panel, which provides essential tools:
- Search: Quickly find pages by typing any part of their URL, title, or H1
- Add Page: Create new pages directly from the visualization interface
- Fullscreen Toggle: Maximize your workspace with fullscreen mode
- Color Accessibility: Switch between color schemes for better visibility
Working with Nodes and Relationships
Understanding how nodes and relationships work is key to effective interaction. Visit our visualization guide for a complete overview of what you're seeing.

Viewing Page Details
When you select a page node:
- A detailed modal appears showing page information and metrics
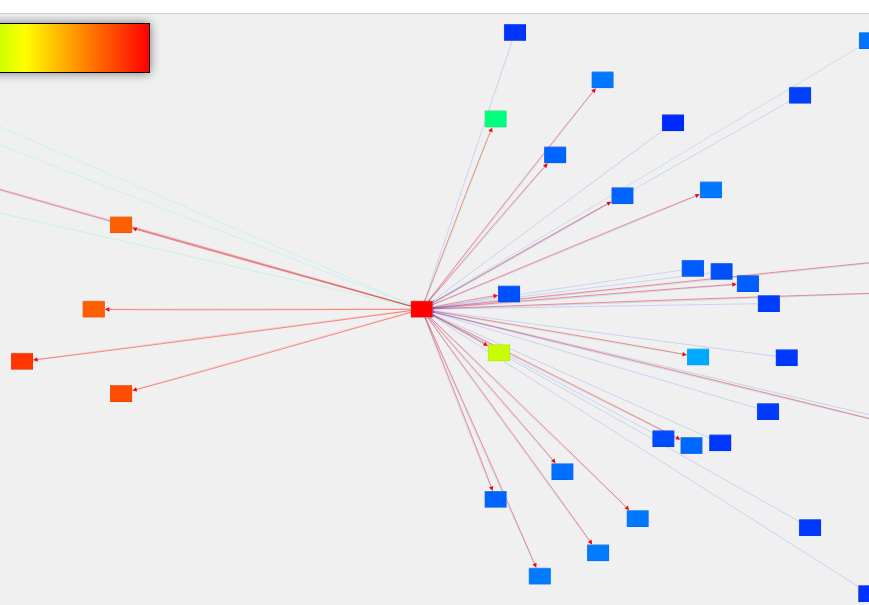
- Connected pages are highlighted while others fade slightly
- Outbound links appear thicker than inbound links for easy identification
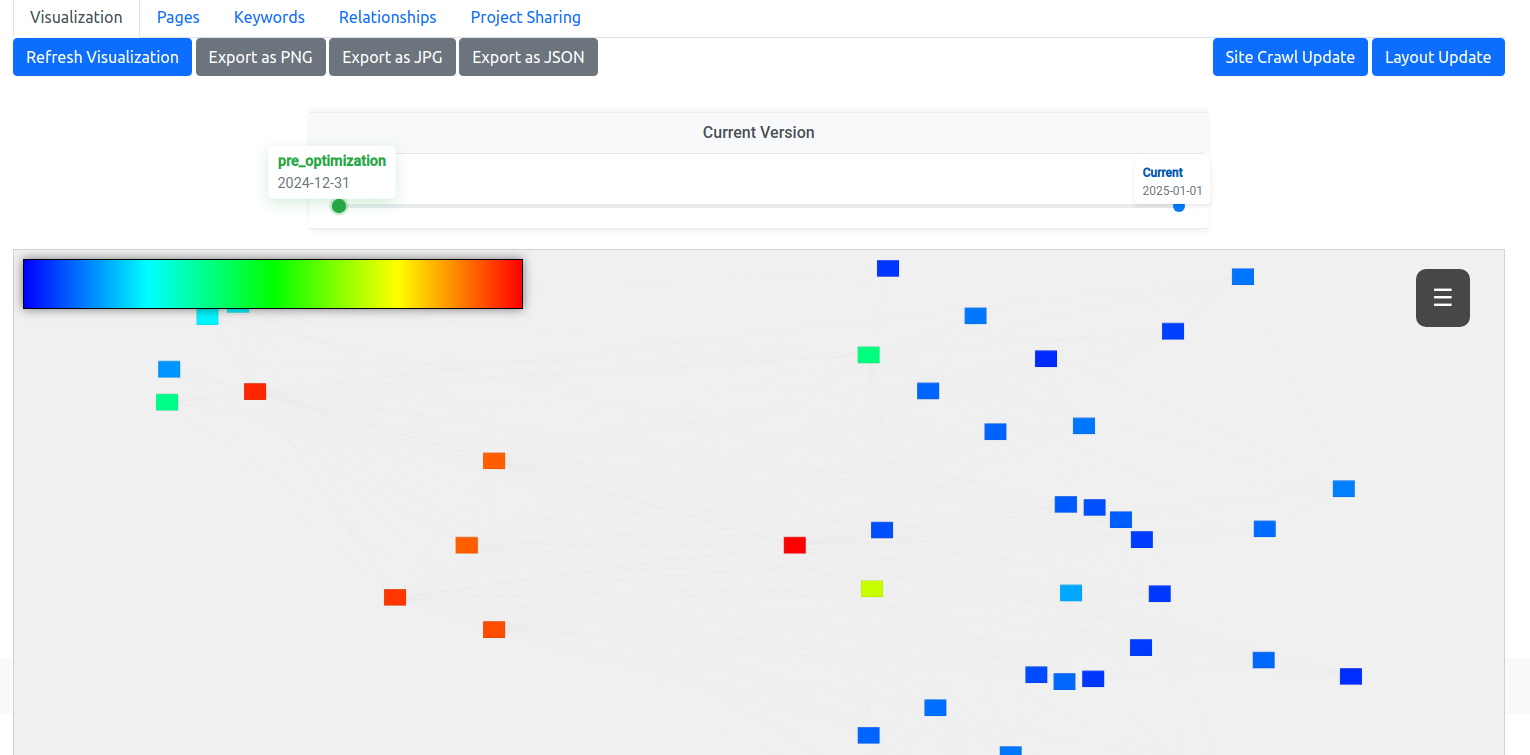
- The node's color indicates its normalized PageRank value - check the color legend for reference
Timeline Navigation
[Screenshot: Timeline control with multiple snapshots visible]
If you have multiple snapshots of your site structure, the timeline control appears below the visualization. For more details about creating and sharing snapshots, see our guide on project sharing.
Using the Timeline
- Click any point on the timeline to load that snapshot
- Hover over timeline markers to see snapshot details
- The rightmost position always shows current data
- Pre-optimization snapshots are automatically created before applying changes
Building Relationships
Create new relationships between pages directly in the visualization:
- Click the link icon on the left side of any node to start
- A guideline will follow your cursor
- Click another page node to create the relationship
- Confirm the link creation in the popup dialog
Optimization Actions
When viewing page details, you'll have access to optimization options:
- Page Optimization: Select from four powerful optimization strategies in our optimization guides
- Keyword Research: Access professional keyword research services for comprehensive analysis
- Manual Adjustments: Edit page details, manage relationships, and update keywords directly
Additional Tips
- Use the search function to quickly locate specific pages in large sites
- The color scheme toggle helps with visibility in different lighting conditions
- Export your visualization using the export options for client presentations
- Check our best practices guide for more optimization tips